Starting seeds indoors is both exciting and nerve-wracking. A row of pots on the windowsill looks full of promise, but within weeks success or failure becomes clear. Some sprouts shoot up eagerly, others never appear, and mistakes with light or water show fast.
That’s why preparation matters more than enthusiasm, so if you have a little knowledge of species needs — and even simple tools like apps that can identify tree by picture to check what you’re growing — the process becomes far less mysterious. Instead of guessing, you give each seed the conditions it expects, turning that first fragile month into the beginning of a thriving garden.
Choosing the Right Seeds for Indoors
The first step isn’t soil, pots, or light. It’s knowing what to plant. Not all seeds are happy to start indoors. Some are adapted for direct sowing outdoors because they dislike root disturbance. Others practically beg for a head start in a warm, sheltered spot.
For beginners, the safest path is to start with plants that germinate easily and show quick progress. Watching basil leaves appear in less than a week is motivating in a way that waiting three months for a stubborn woody herb could never be.
Here’s a simple breakdown:
Beginner-friendly seeds: basil, lettuce, nasturtiums, zinnias.
Moderate challenge: peppers, tomatoes, marigolds.
High patience needed: lavender, rosemary, carrots (which don’t like transplanting).
Tip: always check the seed packet date. Old seeds may sprout weakly or not at all. Fresh seeds mean a stronger start.
Another trick is to sow just a few seeds of a new plant type rather than an entire tray. This way, if it fails, you still have energy and space for your reliable favorites.
Containers and Soil: Setting the Stage
Once you’ve chosen the seeds, their stage matters just as much.
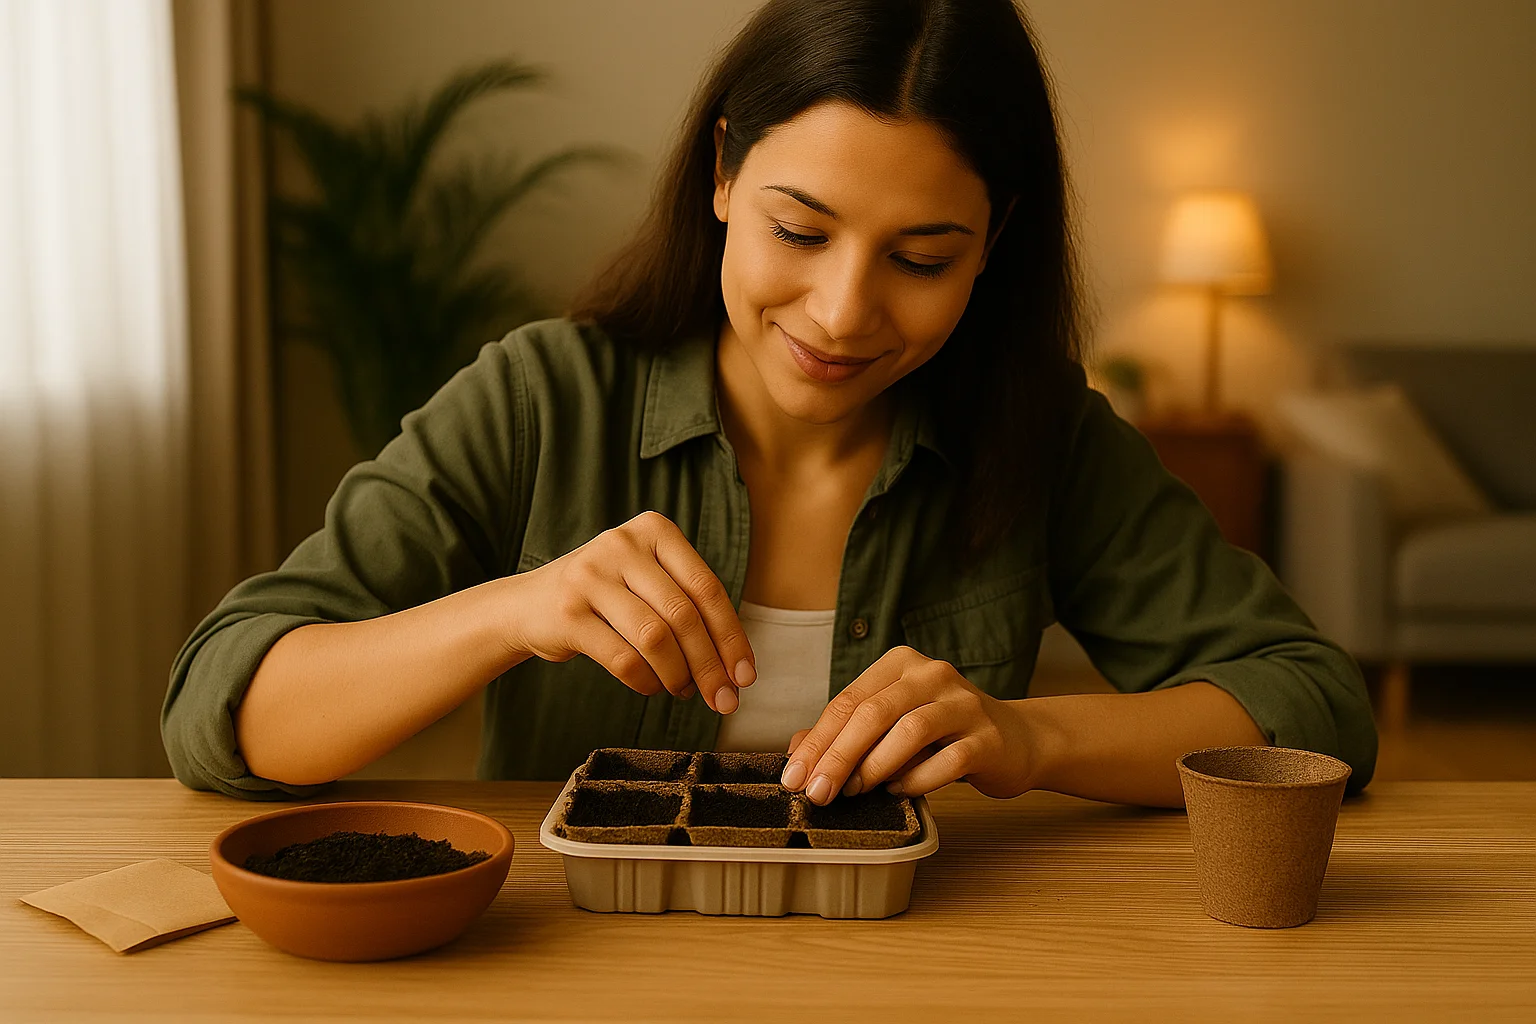
Containers
The golden rule: drainage holes are non-negotiable. Seeds rot quickly in stagnant water. Lightweight plastic seed trays are common, but don’t underestimate yogurt cups, egg cartons, or even homemade paper pots — as long as water can drain.
Mini-greenhouses made from transparent lids or plastic wrap help retain humidity, which speeds germination. Just remember to ventilate occasionally to prevent mold.
Soil
Seeds are delicate. They don’t need heavy “garden soil,” which can be too compact and packed with pests. What they need is lightness — a fine-textured seed-starting mix that holds moisture yet drains well.
A good mix often includes:
peat or coco coir (for moisture retention),
perlite or vermiculite (for air pockets),
a touch of compost (for nutrition once roots form).
A common mistake is to use a dense outdoor soil. It clumps, suffocates seedlings, and often introduces fungus.
Practical hack: sift store-bought potting mix through a kitchen strainer to remove large chunks. Your seedlings will thank you.
Watering Wisely: Finding the Balance
If seed-starting had one villain, it would be overwatering. A seed’s tiny root can drown in soil that stays soggy. Yet too little water, and germination stalls.
Think of watering like offering a sip, not a bath. Moist, not wet, is the mantra.
Signs of overwatering: green algae on the soil, a sour smell, drooping seedlings with dark stems.
Signs of underwatering: dry crusty soil, seedlings collapsing suddenly.
Best practice is to mist the soil surface with a spray bottle. This keeps moisture even without washing seeds deeper than they should be.
To check, insert your finger or a wooden stick 2–3 cm deep. If the soil sticks lightly, it’s moist enough. If it’s bone-dry, time to water.
Advanced trick: bottom watering. Place the pots in a tray of water for a few minutes, letting soil absorb from below. This encourages roots to grow downward.
Light and Warmth: Creating the Right Microclimate
Seeds respond to cues of light and warmth. Without enough of either, they either fail to sprout or grow weak and leggy.
Light
A south-facing window seems ideal, but be cautious. Winter sun can be too weak, while summer sun can scorch.
Sun lovers: tomatoes, peppers, basil (need 12–16 hours of strong light).
Shade-tolerant starters: lettuce, parsley, cilantro (fine with 6–8 hours).
If your windows don’t provide enough, consider a grow light. Even a simple LED lamp positioned close to the plants (10–15 cm above) makes a dramatic difference.
Warmth
Seeds are like sleepers: they wake up only when the temperature feels right.
Plant Type | Ideal Temperature for Germination | Notes |
Basil, Tomatoes | 22–25°C | Bottom heat speeds germination. |
Lettuce, Spinach | 15–20°C | Too warm, and they may not sprout. |
Peppers, Eggplants | 25–28°C | Consistent heat is crucial. |
Observation tip: Place a thermometer near your trays. A few degrees from a radiator or draft can make or break germination.
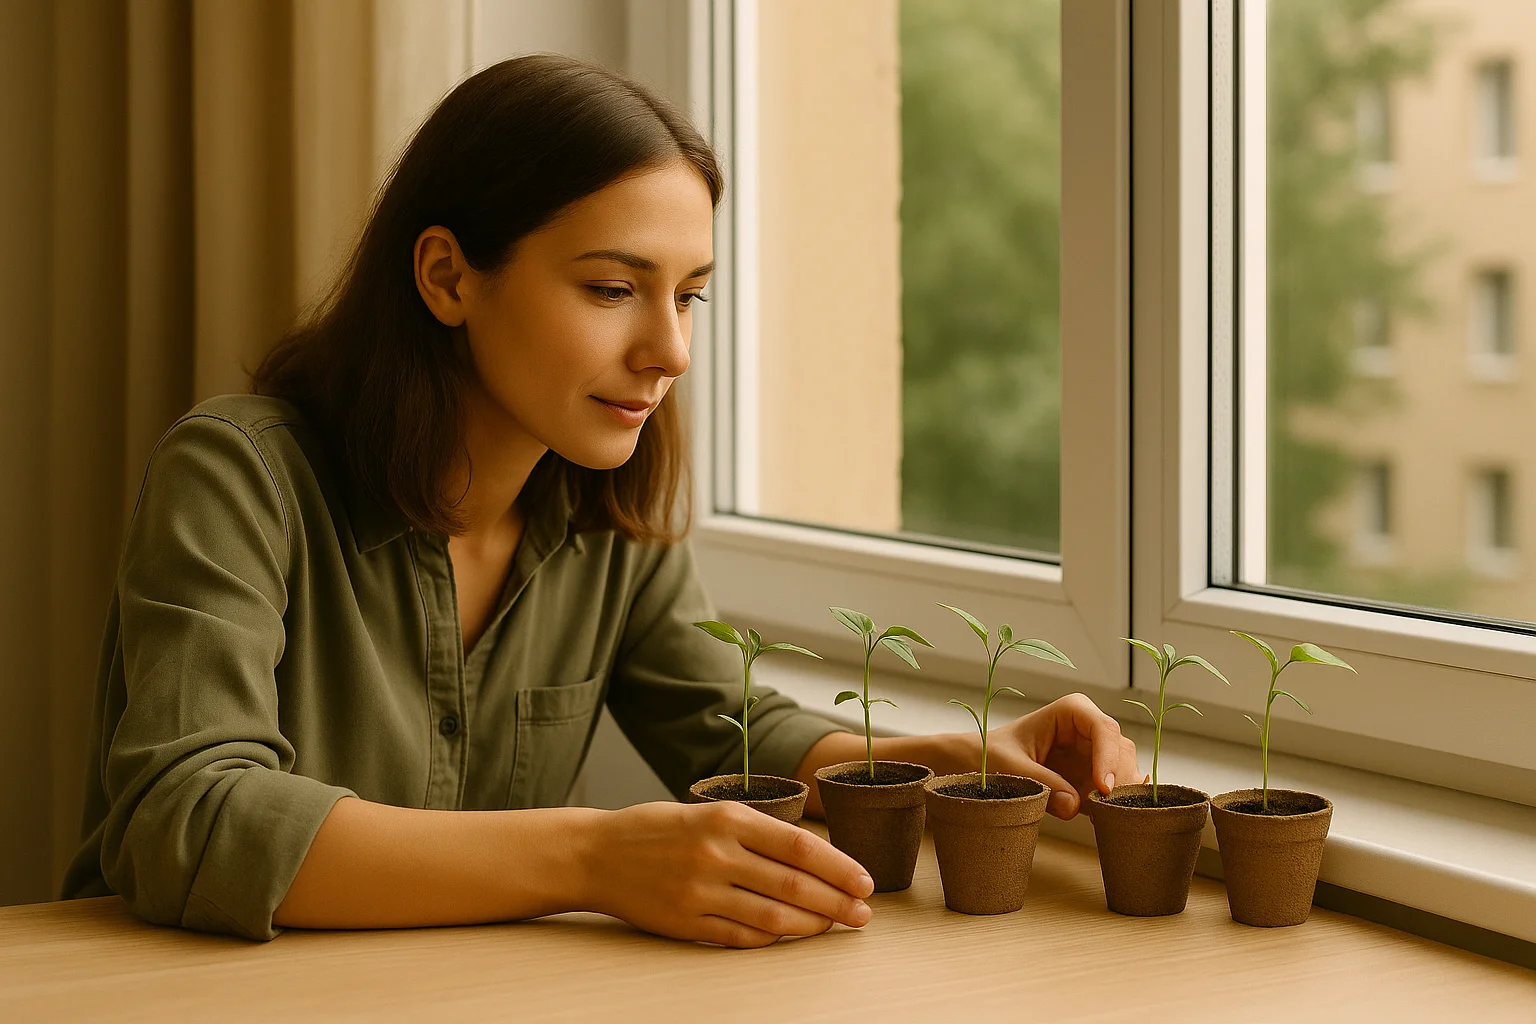
The First Sprouts: What Happens Next
Few things rival the excitement of spotting the first loop of green pushing through the soil. But what comes after is even more important.
As soon as sprouts appear:
Remove plastic covers. Stale, humid air encourages mold.
Rotate trays daily to prevent leaning toward the window.
Thin seedlings by gently snipping extras at soil level. This gives survivors more space and strength.
Don’t fall into the guilt trap. Removing weaker sprouts isn’t cruelty — it’s kindness to the stronger ones.
For tall, leggy seedlings, the culprit is usually low light, so move them closer to a lamp or window.
Feeding Baby Plants: Do They Need Fertilizer?
In the earliest days, seeds feed themselves. The energy packed inside the seed coat is enough to support initial growth. That’s why fertilizing too soon often does more harm than good.
Only once seedlings have 2–3 sets of “true leaves” (not just the first seed leaves) should you consider feeding.
Safe options:
A half-strength liquid fertilizer once every two weeks.
Organic teas like diluted compost or worm castings.
A gentle trick is to place a used tea bag on the soil as a mild organic boost. And remember that baby plants don’t need banquets, they need snacks.
Common Mistakes in the First Month
Most failures in seed-starting happen because of enthusiasm, not neglect. Here’s a quick reference:
Mistake | Symptom | Solution |
Sowing too densely | Crowded, weak sprouts | Thin seedlings early with scissors. |
Too little light | Leggy, pale growth | Add grow light or rotate daily. |
Overfertilizing early | Burned tips, stunted growth | Wait until true leaves appear. |
No ventilation | Mold, damping-off disease | Open covers daily for airflow. |
Inconsistent watering | Sudden collapse or dry soil | Mist regularly, use bottom watering. |
The lesson is that seed-starting is less about doing more and more about doing just enough.
Transplanting: When and How to Move On
The moment you’ve been waiting for arrives: seedlings outgrow their first home. Now comes transplanting, or “pricking out.”
Signs it’s time:
Roots visible through drainage holes.
Crowded seedlings shading each other.
True leaves are fully formed.
How to transplant:
Water seedlings an hour before moving — roots slide out more easily.
Use a spoon or stick to lift gently, avoiding tugging stems.
Transfer into slightly larger pots with fresh soil.
Press soil lightly around roots, water gently.
Golden rule: never handle seedlings by their stems — they bruise easily. Always lift by leaves or root ball.
As plants grow, begin “hardening off”: placing them outside for an hour daily, gradually increasing time. This toughens them for life beyond the windowsill.
Tech as a Helper: Making Life Easier
No matter how careful you are, it’s easy to forget when you last watered or whether that sprout is parsley or cilantro. Here’s where digital support matters.
Apps like AI Plant Finder are useful not just for identifying plants but for keeping a log. For example, you can photograph seedlings, note dates, and set reminders for watering or feeding. The app’s features (from the Water Calculator to My Garden Tool) help prevent both neglect and overcare.
Imagine noticing yellow leaves and being unsure whether it’s too much water or too little. A quick snapshot, checked against the app’s database, clarifies the likely cause. And that extra insight can mean the difference between saving a sprout or losing it.
Building Confidence for Future Seasons
If the first month of seed-starting feels like walking a tightrope, that’s because it is. But once you’ve succeeded even once, confidence grows.
The habit becomes natural: saving trays, checking soil by touch, watching the clock for watering. Failures become stories, not defeats.
And with every season, the process gets easier: instead of nervous glances at the soil, you’ll wait calmly, knowing sprouts will come. Instead of fearing mistakes, you’ll see each as part of the learning curve.
Propagation, germination, transplanting — these are just steps in a cycle that gardeners have repeated for centuries. But in your home, it’s also something personal: the thrill of creating life from a speck.
So, don’t be afraid to start. Your first month is the hardest, but it’s also the most rewarding. Each sprout is proof that patience works — and that your windowsill can hold more than just pots; it can hold possibility.